MONEY ROBOT SUBMITTER TUTORIAL. PART 4 - CREATING TASKS
Welcome to the fourth part of Money Robot Submitter Tutorial. We will guide you in the process of creating and running tasks step-by-step so you start working with our SEO tool right away!
In previous tutorials we explained how to use the programme interface and how to manage profiles. To create a task for specific project all you need to do is click "New Task" and choose one desired type of blog/article etc you need!
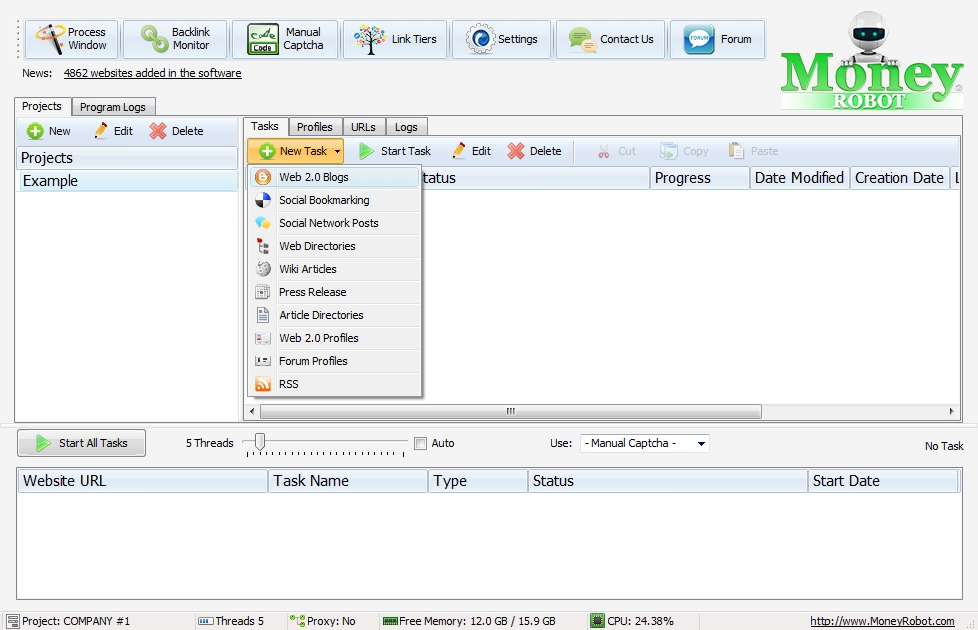
New window will appear after choosing type of task. In this tutorial we will use Web 2.0 Blogs.
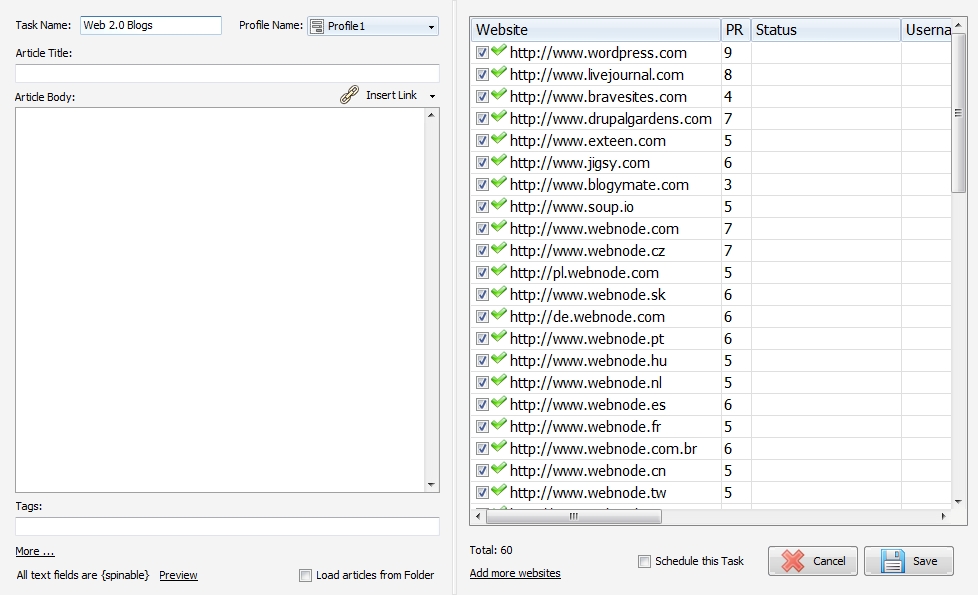
Window is divided into two areas:
- left side consists all the settings of the articles
- right side consists list of websites on which user can post his articles and a scheduler
Lets start with left side area.
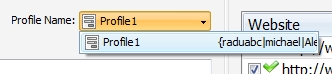
At the top you can change profile used for the task, so for example every task will use another profile. If you want you can use same settings for all tasks.
At the bottom you got very usefull function:
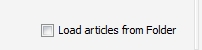
You can add multiple articles from specific folder on your computer. All articles have to be saved in txt format.
Article is useless till it will consist link to your website as a backlink. You need to use function "Insert Link":
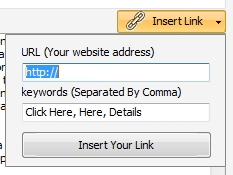
Link to your website will be added even if you choose to load articles from folder. Url will appear at the end of each article.
The other thing user can customize are tags, blog title and blog address (as shown on the picture below). To show those settings just click "More..." in the bottom of the window.
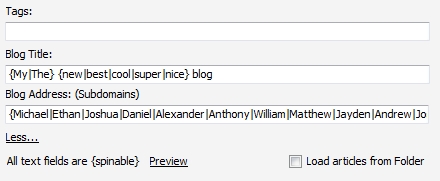
All the text fields are spinnable (explained in Tutorial Part 3 - Managing Profiles)
On the right side of the task window you can see the list of available websites for creating blogs and articles. After starting task you will get some other informations for each created blog, such as username, password, email, etc.
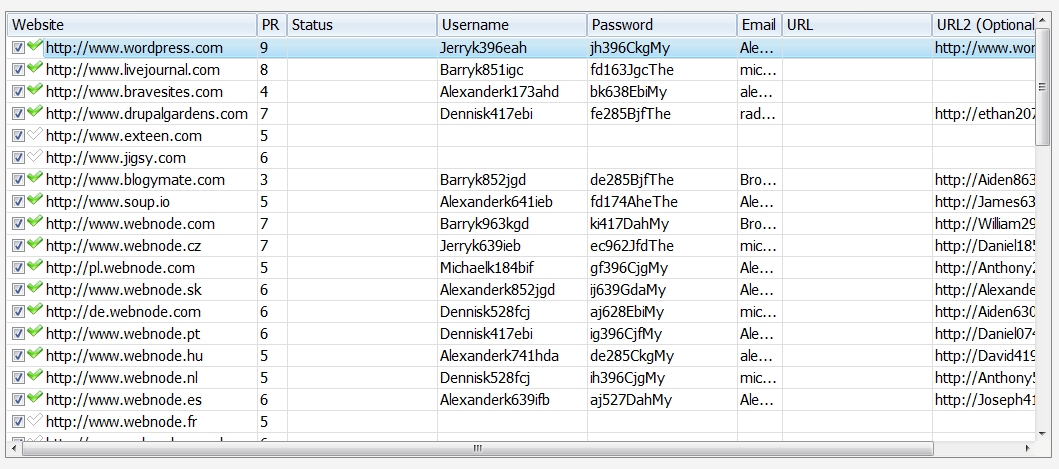
At the bottom is placed button for entering scheduler.
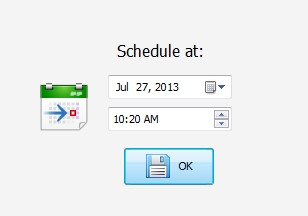
Thats it! All you need to do now is press "Save" and you can start this task.
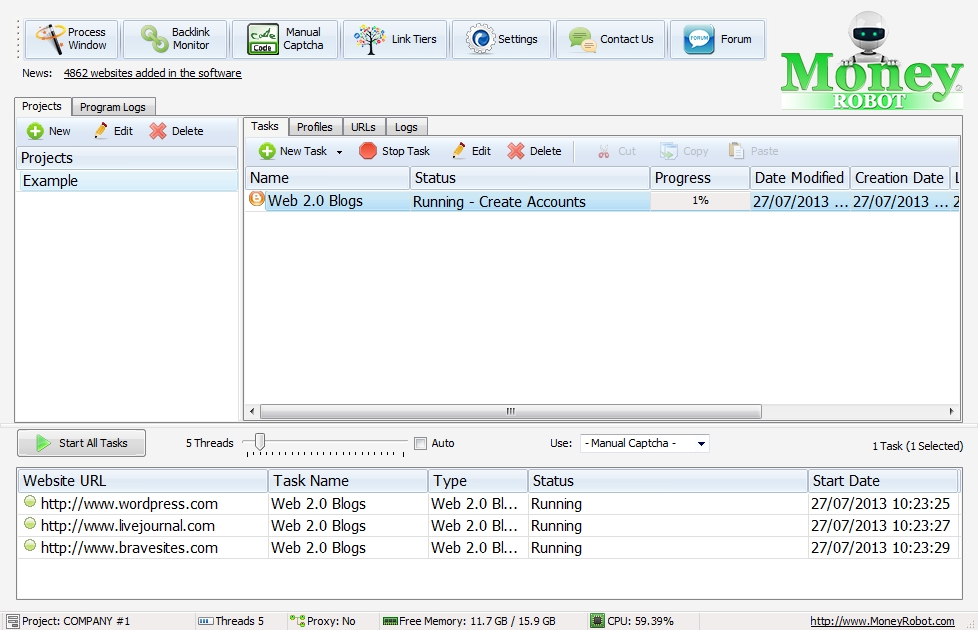
When task is running, you can see its actual status in the bottom of Money Robot window. You can determine how many threads you want to use in same time (remember that performance of MR depends on your computers CPU and memory so choose carefully!)
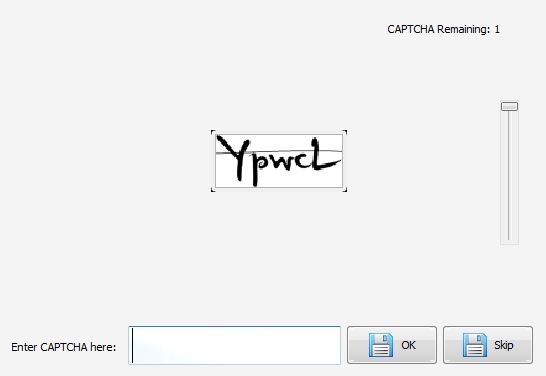
If you choose to use - Manual Captcha -, from time to time you will get pop-up window with unsolveable captcha. Just enter captcha and click OK.
By using process window you can take a look how Money Robot is processing each website to create account and post article.
When creating accounts is finished, the next step for our SEO tool is to verificate email. Normally it will start 10 minutes after finishing creating accounts in specific task.
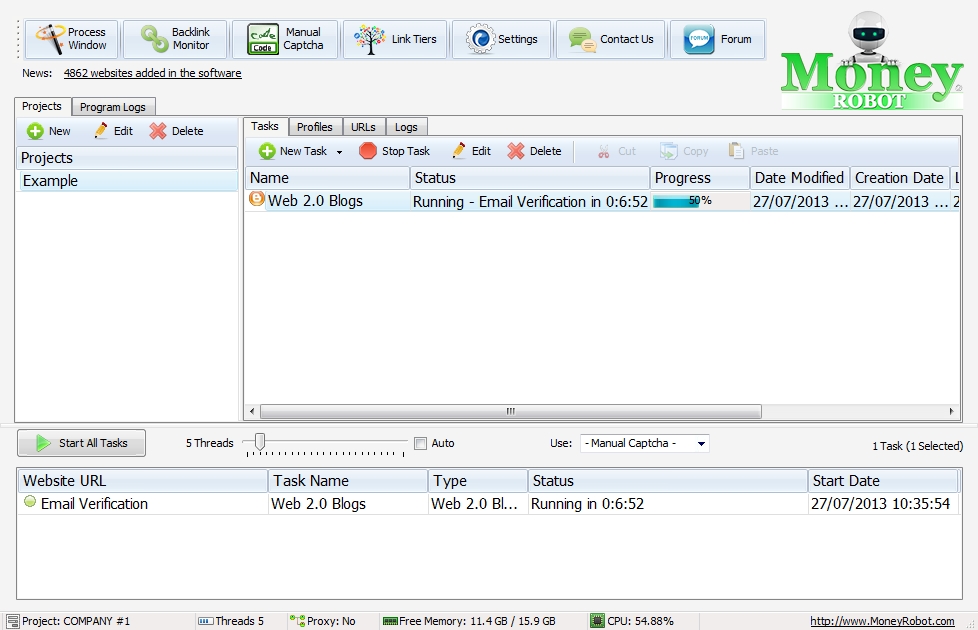
If you don't want to wait, you can right-click on "Email Verification" in the bottom of the window and choose running verification now. Afterwards Money Robot will start submitt articles on each created blog :)

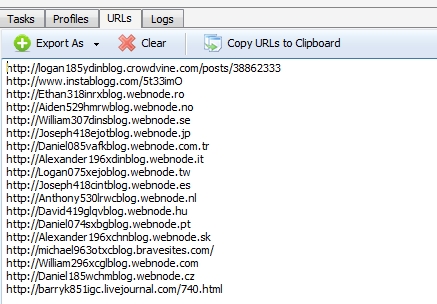
If you want to get a list of the created blogs you need to open URLs tab in the Money Robot main window. By using Export As button, you can export results to CVS and TXT files. If you want to put the list in some software like Excel without playing with importing features etc, just click "Copy URLs to Clipboard" and paste it wherever you need to!
In Logs tab you can see informations about modifications of specific project, like deleting and creating tasks, creating new profiles etc.
Do you want to know how to install Money Robot Submitter?
Take a look at Money Robot Submitter Tutorial. Part 1 - Installation
Do you want to know how to navigate in Money Robot Submitter?
Take a look at Money Robot Submitter Tutorial. Part 2 - Navigation and settings
Do you want to know how create and manage profiles inside Money Robot Submitter?
Take a look at Money Robot Submitter Tutorial. Part 3 - Managing Profiles
You couldn't find answers for some other questions?
Contact us by email
This email address is being protected from spambots. You need JavaScript enabled to view it.
